
Bleed in Printing
by Ibrahim Anwar · July 26, 2025
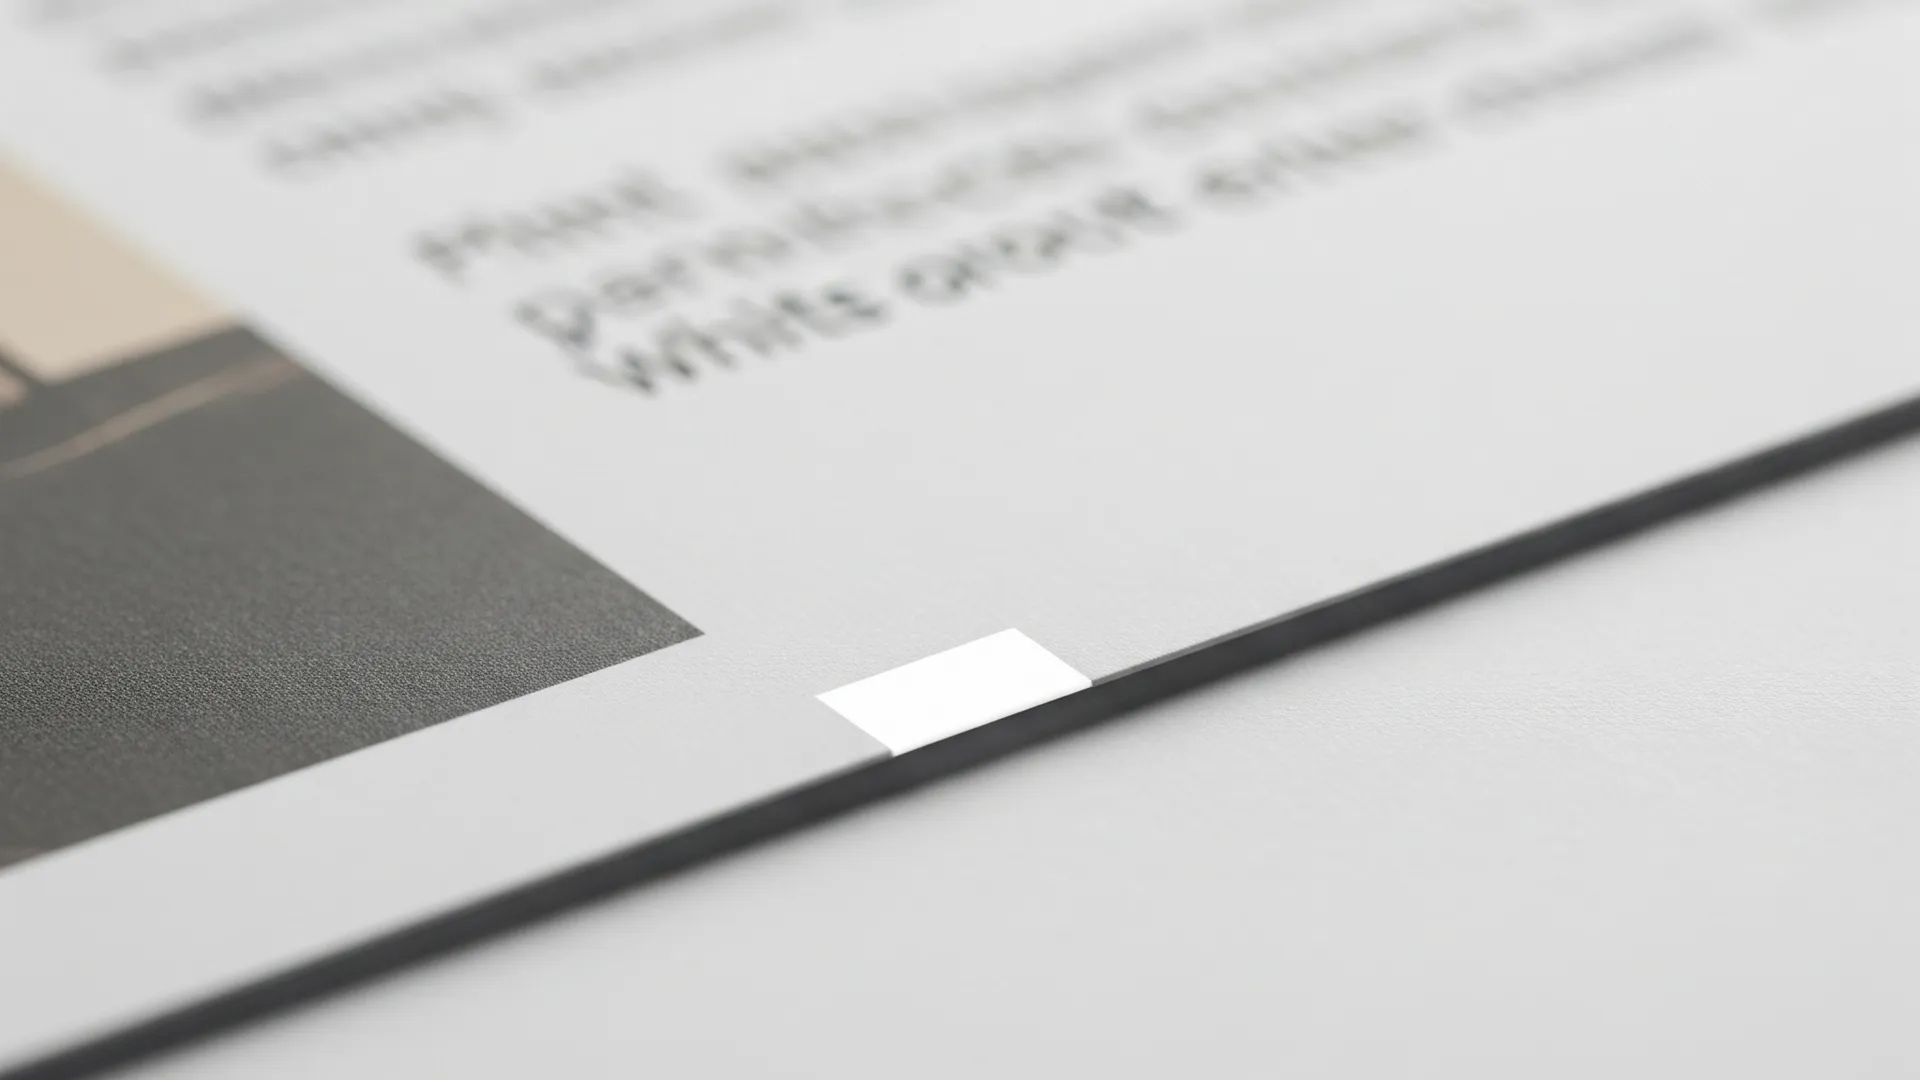
Bleed, in book printing and graphic design, is the term for an area of an image or a design element deliberately extended beyond the final trim line of a page. The practice is an “intentional excess” that works as a margin of safety. Its purpose is to make sure that after trimming there is no unwanted white edge along the side of the page. When a design — an illustration, a photograph, a coloured background — is meant to reach the physical edge of the page, that element has to be extended into the bleed area. This anticipates the small and unavoidable shifts that occur during trimming at scale, so that the finished result looks perfect and professional, as though it had been printed right to the edge of the paper.
If you are looking for a template file, download it here: CDR | PDF

Bleed: The Art of “Intentional Excess” for a Perfect Print
In printing and graphic design, perfection often lies in a detail nobody sees. One of the most important of those details, and the foundation of every professional printed product, is the idea known as “bleed”. It sounds technical, but bleed is a simple and thoroughly crucial principle. It is the practice of extending a design element — an image, a background colour — past the line where the page will be cut. The main purpose is to produce a seamless result, where the design appears to meet the physical edge of the page with no thin white line to interrupt and spoil the visual illusion. Bleed is not a mistake; it is an intelligent strategy that anticipates mechanical imperfection in the production process.
Why Is Bleed Absolutely Necessary in Print?

To understand why bleed matters, we first have to understand how a book, a magazine or a brochure is printed and finished. These are not printed on paper the size of the final page. They are printed on much larger sheets which are then cut down to the size wanted. That cutting, precise as the machinery is, is never 100% perfect. Several things can cause a microscopic shift:
- Mechanical drift: An industrial guillotine cutting a thick stack of paper at once can drift by a fraction of a millimetre. The pressure of the blade can shift the stack very slightly.
- Variation in the paper: Small differences in thickness or density affect how the blade interacts with each sheet.
- The human factor: Mostly automated as it is, there is still an element of operator setup, and that carries a minimal tolerance for error.
Without bleed, the smallest of these shifts becomes very visible. If your image stops exactly on the trim line and the blade drifts slightly outward, there will be an unsightly thin white line along the edge of the page. Small as it is, that line instantly makes a printed product look amateurish and untidy. Bleed solves the problem by giving “room to move”, a margin for error. By extending the image beyond the trim line, any small shift still cuts through part of the extended image rather than through empty space, so the finished result stays clean and professional.
The Anatomy of a Professional Page: Bleed, Trim Line and Safe Margin
To apply bleed correctly, a designer has to understand three key areas of a page layout:
- The bleed area: This is the outermost zone of your design. Every element you want to reach the edge of the page has to be extended to the limit of the bleed area. This area is cut away and discarded during finishing. The standard size for bleed is usually 3 mm (about 1/8 inch) on each side, though it varies with the printer’s specification.
- The trim line: This is the line marking the true final size of the page. It is the physical edge of your book or printed product once trimming is done. Anything outside it, in the bleed area, is lost.
- The safe margin (or safety line): This is the area inside the trim line. Every important element — text, a logo, a critical part of an image — has to sit within this safe margin. Putting something important too close to the trim line risks it being cut off if the trim shifts. The safe margin is usually 3–5 mm inside the trim line.
Understanding and respecting these three zones is the basis of preparing a file professionally for print. It makes sure there are no unpleasant surprises once the product is printed and cut.
“Bleed is not a design mistake but an intelligent, anticipatory strategy for making sure a print looks perfect right to the edge, working around the mechanical limits of the production process.”
Standard Sizes and Variations
The bleed most commonly asked for by printers is 3 mm on each side of the page. That figure is not absolute, though. Some projects need more — 5 mm or 6 mm. Things that can affect the bleed required include:
- The thickness of the product: A thicker product, such as a book of several hundred pages, may need slightly more bleed because of the greater potential for drift when cutting a thick stack.
- The binding method: Some methods of binding have specific requirements.
- The printer’s specification: Every printer has its own equipment and its own operating standards. The golden rule is always to ask, and always to follow the bleed guidance given by the printer you are going to use.
Ignoring a printer’s bleed specification is one of the most common mistakes made by beginning designers, and it can cause production delays or an unsatisfactory result.
Bleed in Practice: From Digital Design to a Custom Journal
Applying the idea of bleed is a practical step taken at the digital design stage, long before the press starts. The process makes sure a designer’s creative vision can be realised accurately in physical form, whether for a book, a magazine, or a beautiful custom leather journal.
How to Set Bleed in Design Software
Almost all professional graphic design software has a built-in facility for setting bleed. The process is generally similar:
- Adobe InDesign: As the industry standard for book and magazine layout, InDesign makes setting bleed very easy. When you create a new document there is a dedicated field for entering the bleed value (3 mm, say) for each side. A red line appears around your canvas to show the limit of the bleed area.
- Adobe Illustrator & Photoshop: More focused on illustration and photo editing, both can also be used for layout. Bleed can be set when creating a new document, or by manually extending the canvas size to accommodate the bleed area.
- Canva: This more approachable design platform also includes a bleed option. When downloading a design for print, Canva offers “Crop marks and bleed”, which automatically adds the bleed area required.
The key is not only setting the bleed value in the software but actively extending the relevant design elements — a background image or a photograph — so they reach the edge of that bleed area.

Bleed in Custom Leather Journals and Hibrkraft Products
The idea of bleed becomes very important when we are talking about personalised products such as a custom leather journal. Many Hibrkraft customers want to include a design, a photograph or a distinctive pattern on the inner pages or the endpapers of their journal. If that design is meant to cover the whole page, bleed is essential.
Picture a custom journal with a treasured photograph as its opening page. Without bleed, there is a risk that the photograph will end up with an awkward thin white frame once the page has been trimmed and cased into the leather cover. That would reduce the emotional and visual impact of the personalisation. At Hibrkraft we understand how much this detail matters. When we work with a client on a custom project involving printed elements, we always make sure the design files are prepared correctly, bleed settings included, to guarantee a seamless and premium finish. It is part of our commitment to quality, which extends beyond the leatherwork itself.
“Without bleed, any microscopic shift during trimming can destroy the illusion of an immersive, professional design, leaving behind a distracting trace of imperfection.”
Common Mistakes with Bleed (and How to Avoid Them)
Simple as the idea is, several mistakes come up regularly:
- Forgetting to add bleed at all: The most basic error. The designer makes the artwork exactly the size of the final page, leaving no room for bleed.
- Adding only a coloured frame: Rather than extending the original image, some people simply add a coloured border around their design as the bleed. That does not solve the problem, because if there is a shift it is the coloured frame that appears at the edge, not the image that should be there.
- Putting important elements in the bleed area: Another critical error is placing text, a logo or an important detail inside the bleed area. Remember, the bleed area is the part that gets thrown away.
- Being inconsistent: Forgetting to add bleed on some pages while others have it, which produces an inconsistent result within a single product.
The best way to avoid these is to make setting the bleed the first step when starting a new design project, and always to talk to the printer to understand their specific requirements.
Conclusion: A Small Detail, a Professional Effect
Bleed may look like a small technical detail in a complex production process, but its effect on the quality of the finished product is considerable. It is the bridge between a digital design vision and physical reality, an anticipatory technique that shows a deep understanding of how printing actually works. For anyone involved in making a printed product, from graphic designer to bookbinder, understanding and applying bleed properly is a mark of professionalism. At Hibrkraft we believe excellence lies in attention to details like this one, making sure that every custom product we send out is not only beautiful in its leatherwork but perfect in every printed element that goes with it.

The Custom Notebook You Have in Mind
Your design, from the screen to your hands. We make sure every detail, bleed included, is executed perfectly for a striking result.
Make a custom leather journal with seamless full-page printing. We will guide you to a professional finish.
Professional Business Solutions
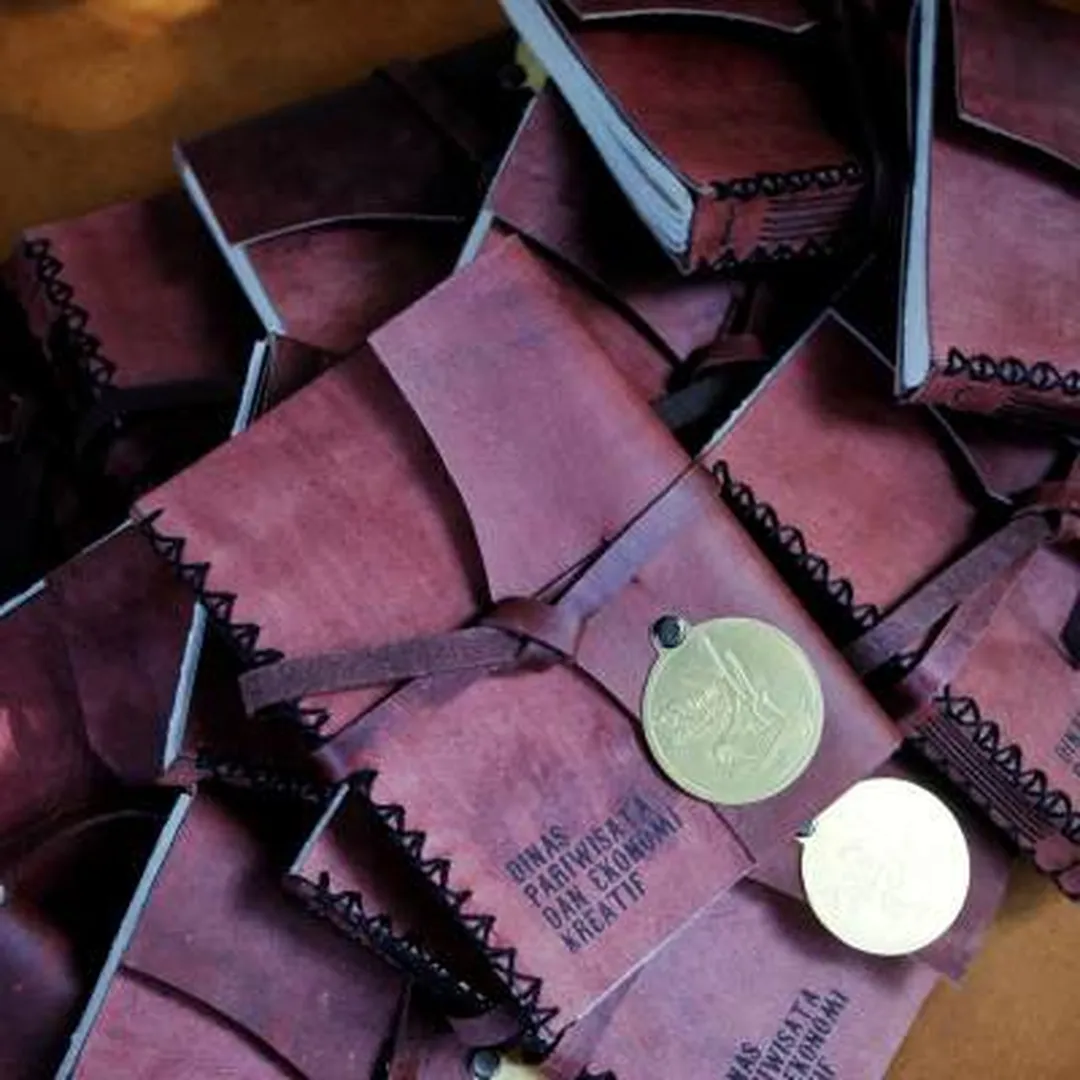
Present your brand without compromise. A custom agenda printed full-bleed shows a professional image right to the edge.
Raise the standard of your corporate gifts with an exclusive agenda designed perfectly, from the leather cover to the last page.
Get in Touch
Book Repair & Conservation
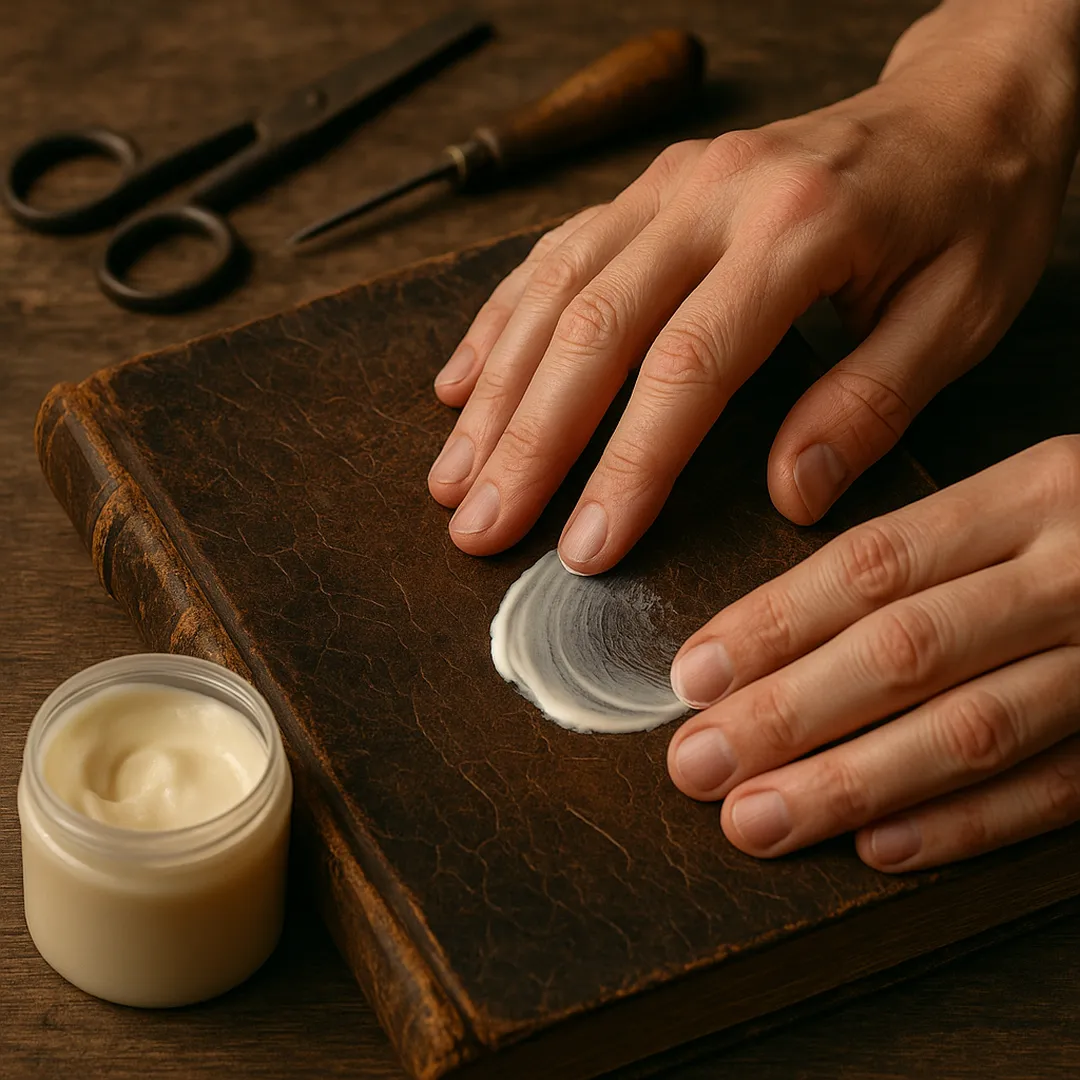
An old book may not have been printed with bleed, but we care for every one of its pages with the skill to preserve its original beauty.
Restoration for antique books and valued collections, respecting every historical detail.
Free Consultation